Indoor Lacrosse Training: How to Practice Inside
Winter weather? No yard? No problem. Five indoor drills using foam balls that won't damage walls, furniture, or anything in your house.
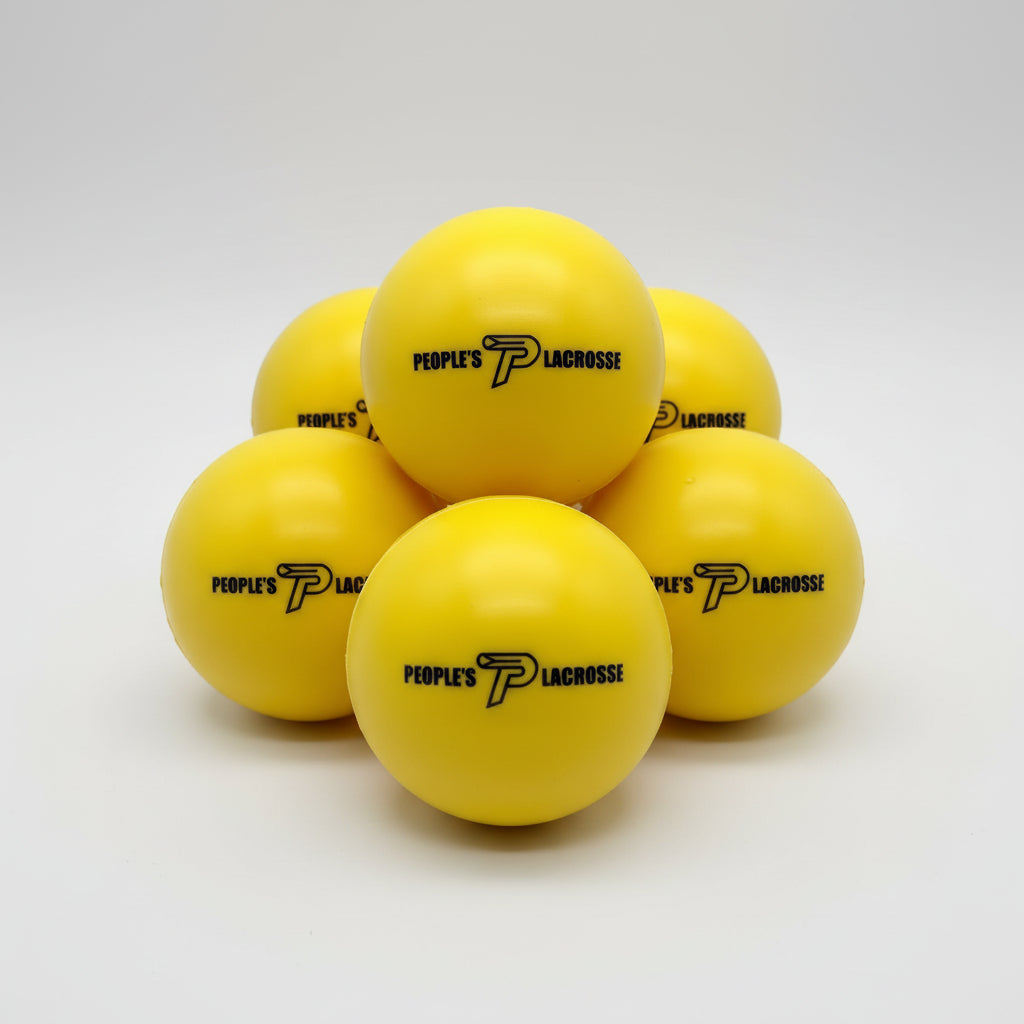
Winter hits different when you're a lacrosse player. No field access. Snow covering your backyard. Temperatures too cold to be outside. For months, you're stuck inside — and your skills start to slip.
But it doesn't have to be that way. With the right equipment and the right drills, you can practice lacrosse indoors without damaging walls, furniture, or anything else in your house.
Here's how to keep your skills sharp when you're stuck inside.
Why Indoor Training Matters
Indoor training isn't just a backup plan for bad weather — it's a legitimate way to build skills. Here's why:
- Consistency: You can train every day, regardless of weather. No rain days. No snow days. No excuses.
- Soft hands: Foam balls are lighter and softer than lacrosse balls, which forces you to develop softer hands and better control.
- Quick release: Indoor spaces are smaller, which means you have to catch and release quickly. This builds the quick stick reflexes you'll need in games.
- Stick handling: Confined spaces force you to keep your stick in the "box" — between your shoulders and ears. This builds good habits for protecting the ball in traffic.
The key is using the right equipment. Foam balls are perfect for indoor training — they're light, soft, and won't damage anything they hit. Combined with a Skill Stick (which is sized for foam balls), you can practice almost anywhere: basement, garage, living room, hallway, hotel room.
What You Need
Here's the minimal setup for indoor training:
- Skill Stick — sized and weighted like a real stick, but designed for foam balls
- Foam balls — 2.75" diameter, soft enough to not damage walls or furniture (People's Arsenal 6-pack is perfect)
- Minimal space — a hallway, basement, garage, or living room with at least 10–15 feet of clear space
That's it. No backstop. No net. No special equipment. Just a stick, some foam balls, and a little bit of space.
Safety Tips
Even though foam balls are safe, it's worth taking a few precautions:
- Clear the area: Move breakable items (lamps, vases, picture frames) out of the way. Better safe than sorry.
- Watch the ceiling: If you have low ceilings or hanging light fixtures, keep your throws below shoulder height.
- Protect windows: Even foam balls can leave a mark on glass if they hit at the right angle. Keep throws away from windows or cover them with a blanket.
- Footwear: Wear shoes with good grip to prevent slipping, especially on hardwood or tile floors.
- Know your limits: Start slow and get a feel for how the foam balls behave indoors. Don't rip 90 mph shots in your living room on day one.
5 Indoor Drills
Drill 1: Wall Ball in a Hallway
What it builds: Soft hands, quick release, hand-eye coordination
How to do it:
- Find a hallway with a wall at one end (8–12 feet of space is ideal)
- Stand 6–8 feet from the wall, feet shoulder-width apart
- Throw the foam ball against the wall and catch it, focusing on soft hands
- Alternate hands after each catch, or do 10 reps with your dominant hand before switching
- Do 3–5 sets of 20–30 throws, rest 30 seconds between sets
Progression: Start close (6 feet) and focus on soft catches. As you get comfortable, move back (8–10 feet) and increase your speed. Advanced: add movement by stepping side-to-side after each throw.
Drill 2: Cradle While Watching TV
What it builds: One-handed cradle strength, stick control, muscle memory
How to do it:
- Sit on the couch with your Skill Stick and a foam ball
- Cradle with your dominant hand while watching TV — no looking at the stick
- After 2–3 minutes, switch to your non-dominant hand
- Continue alternating hands throughout the show
Progression: Start with two-handed cradles and focus on smooth, controlled motion. As you get comfortable, switch to one-handed cradles. Advanced: cradle while standing, walking, or doing light bodyweight exercises (squats, lunges).
Pro tip: This is the easiest drill to sneak into your daily routine. Cradle during commercials. Cradle while scrolling on your phone. Cradle while talking to family. Reps add up fast.
Drill 3: Quick Stick in a Garage
What it builds: Quick release, reaction time, catching and throwing in one motion
How to do it:
- Stand 8–10 feet from a garage wall (or any flat vertical surface)
- Throw the foam ball against the wall and catch it, immediately throwing it back — no cradling
- Focus on catching and releasing in one fluid motion
- Do 3–5 sets of 20–30 throws, rest 30 seconds between sets
Progression: Start at a comfortable pace and focus on clean catches and releases. As you get comfortable, increase your speed. Advanced: move side-to-side after each throw, or do one-handed quick sticks.
Drill 4: Shooting Into a Blanket or Couch
What it builds: Shot mechanics, release point consistency, follow-through
How to do it:
- Drape a blanket over the back of a couch (or use the couch itself as a target)
- Stand 10–15 feet away in an athletic stance
- Wind up and shoot the foam ball into the blanket/couch, focusing on clean mechanics
- Retrieve the ball (it won't bounce far) and repeat
- Do 3 sets of 10 shots (5 dominant, 5 non-dominant), rest 60 seconds between sets
Progression: Start close (10 feet) and focus on clean mechanics. As you get comfortable, move back (15–20 feet) and add power. Advanced: add dodges before shooting — split dodge, roll dodge, face dodge.
Pro tip: The blanket catches the ball and prevents it from bouncing around. No retrieval needed — just grab and go.
Drill 5: Footwork Drills in a Basement
What it builds: Footwork, change of direction, explosiveness, stick handling while moving
How to do it:
- Set up 4–6 cones (or makeshift cones: water bottles, shoes) in a zig-zag pattern in your basement
- Start at the first cone with the ball in your stick, cradling
- Weave through the cones, focusing on low center of gravity and explosive changes of direction
- At the final cone, take a shot into a blanket or sprint through for 5 yards
- Walk back, rest, repeat for 5–10 reps
Progression: Start slow and focus on proper footwork — low stance, explosive plants, controlled changes of direction. As you get comfortable, increase your speed. Advanced: add a shot at the end, or have a friend act as a passive defender.
Progression: Beginner to Advanced
Here's how to progress your indoor training over time:
Beginner (weeks 1–2): Focus on fundamentals. Wall ball at close range. Cradling while stationary. Quick stick at a slow pace. Build muscle memory and get a feel for how foam balls behave indoors.
Intermediate (weeks 3–4): Increase intensity. Move back from the wall. Add movement to your drills. Start incorporating footwork. Build endurance and speed.
Advanced (weeks 5+): Max out your space. Combine drills into circuits. Add dodges before shooting. Do one-handed drills. Train at game speed.
Putting It All Together: Indoor Workout
Here's a complete indoor workout you can do in 20–30 minutes:
- Warm-up: 2 minutes of light jogging in place, arm circles, stick handling
- Wall ball: 3 sets of 20–30 throws, rest 30 seconds between sets
- Quick stick: 3 sets of 20–30 throws, rest 30 seconds between sets
- Shooting: 3 sets of 10 shots (5 dominant, 5 non-dominant), rest 60 seconds between sets
- Footwork: 5–10 reps through cones, walk back between reps
- Cool-down: 2 minutes of cradling while stretching
Ready to train indoors? Grab a Skill Stick and Arsenal foam balls at peopleslacrosse.com
Want the full indoor training guide with more drills and progressions? Check out the complete guide at guide.peopleslacrosse.com.